When it comes to maintaining your vehicle, understanding the functionality of components like the hood contact switch is essential. This part, however small, is crucial and it plays a significant role in ensuring the safety and efficiency of your vehicle’s systems. If you suspect that your hood contact switch is faulty, it’s important to know how to diagnose and replace it. In this blog post, we’ll guide you through the process, providing valuable insights into hood contact switch replacement, costs, and wiring.
What is a Hood Contact Switch?
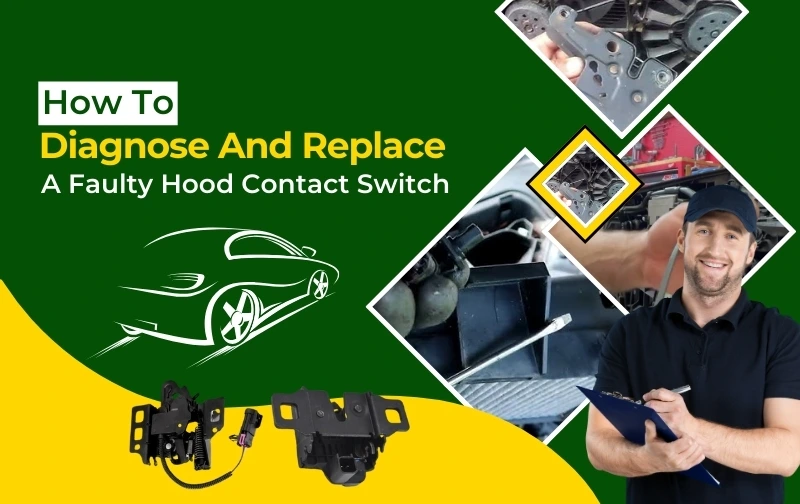
The hood contact switch is a safety device located near the hood of your vehicle. Its key objective is to detect whether the hood is open or closed. This information is critical for various systems, such as the alarm system, interior lights, and even the engine management system. If this switch fails, it can lead to several issues, including alarm malfunctions, erroneous warning lights, or even engine start problems.
Symptoms of a Faulty Hood Contact Switch
Before diving into the replacement process, it’s essential to know the signs of a faulty hood contact switch. Here are some common symptoms:
Warning Lights: If the warning light indicating that your hood is open remains lit even when it is closed, it’s a clear indication of a malfunction.
Alarm Issues: A faulty switch can cause the car alarm to trigger unexpectedly or fail to activate when the hood is opened.
Interior Light Problems: If your interior lights do not turn off when the hood is closed, it could be due to a defective hood contact switch.
Diagnosing the Hood Contact Switch
Step 1: Visual Inspection: Begin your diagnosis with a visual inspection of the hood contact switch. Check for any visible signs of damage, corrosion, or disconnection in the wiring. If the switch is accessible, ensure that it is securely mounted and not obstructed.
Step 2: Test the Switch: To test the hood contact switch, you will need a multimeter. Here’s how to do it:
Disconnect the Battery: Before performing any electrical tests, disconnect the negative terminal of your vehicle's battery to avoid any short circuits.
Locate the Switch: Find the hood contact switch. It is normally found mounted near the latch mechanism of your car.
Check Continuity: Set your multimeter to the continuity setting. Connect one probe to each terminal of the hood contact switch. With the hood closed you should see a reading indicating continuity. Open the hood, and there should be a change in reading indicating no continuity. If the readings do not change as expected, the switch is likely faulty.
Step 3: Inspect the Wiring: If the switch tests out okay, the issue might lie in the hood contact switch wiring. Inspect the wiring for any frays, cuts, or corrosion. A damaged wire can cause similar symptoms as a faulty switch.
Replacing the Hood Contact Switch
If you’ve diagnosed a faulty hood contact switch, replacing it is straightforward and can often be done with basic tools. To proceed, observe the following:.
Step 1: Gather Your Tools
You will need:
A replacement hood contact switch (available at BS Auto Supplies)
A multimeter (if you need to recheck the wiring)
A socket set or screwdriver
Electrical tape (optional)
Step 2: Remove the Old Switch
Disconnect the Battery: As with the diagnosis, ensure that the battery is disconnected to prevent any electrical issues.
Access the Switch: Depending on your vehicle model, you might need to remove some panels to access the hood contact switch.
Unscrew the Switch: Use the appropriate tool to remove the screws or bolts securing the switch.
Disconnect the Wiring: Carefully unplug the wiring harness connected to the switch. Take caution to avoid damaging the connectors.
Step 3: Install the New Switch
Connect the Wiring: Plug in the new hood contact switch, ensuring that the connections are secure.
Secure the Switch: Position the new switch and screw it in place, making sure it’s firmly mounted.
Reconnect the Battery: Connect the negative terminal of your battery back to its position.
Step 4: Test the New Switch: With everything in place, it’s time to test your new hood contact switch. Open and close the hood to ensure that the switch functions properly, activating and deactivating the relevant systems as intended. Check if the warning lights and alarms are now functioning correctly.
Cost of Hood Contact Switch Replacement
The hood contact switch replacement cost can vary depending on your vehicle make and model, as well as where you purchase the switch. Also, if you choose to have a mechanic perform the replacement, labor costs may add a fee depending on the shop’s rates. However, this task is typically straightforward enough for most DIY enthusiasts.
Conclusion
Diagnosing and replacing a faulty hood contact switch is an essential skill for any vehicle owner. By following the steps outlined in this guide, you can save time and money while ensuring that your vehicle’s safety systems are functioning correctly. Remember to use quality parts, such as those from BS Auto Supplies, to guarantee optimal performance. Regular maintenance and prompt attention to any issues will keep your vehicle running smoothly for years to come.


0 Comments